Color Correction Suite
A full colour grade — exposure, contrast, temperature, curves, and a look table — in one operator.
The Color Correction Suite is the complete grading toolkit in a single node. Put it anywhere in a chain to correct exposure and colour, shape the response with curves, and apply a look.
- One input, one output — a picture or a whole 3D scene
- Exposure, contrast, temperature, saturation, curves, and a look table
- On a 3D scene the grade is applied before the picture is flattened, which keeps the highlights clean
- Found under Texture in the add-operator list
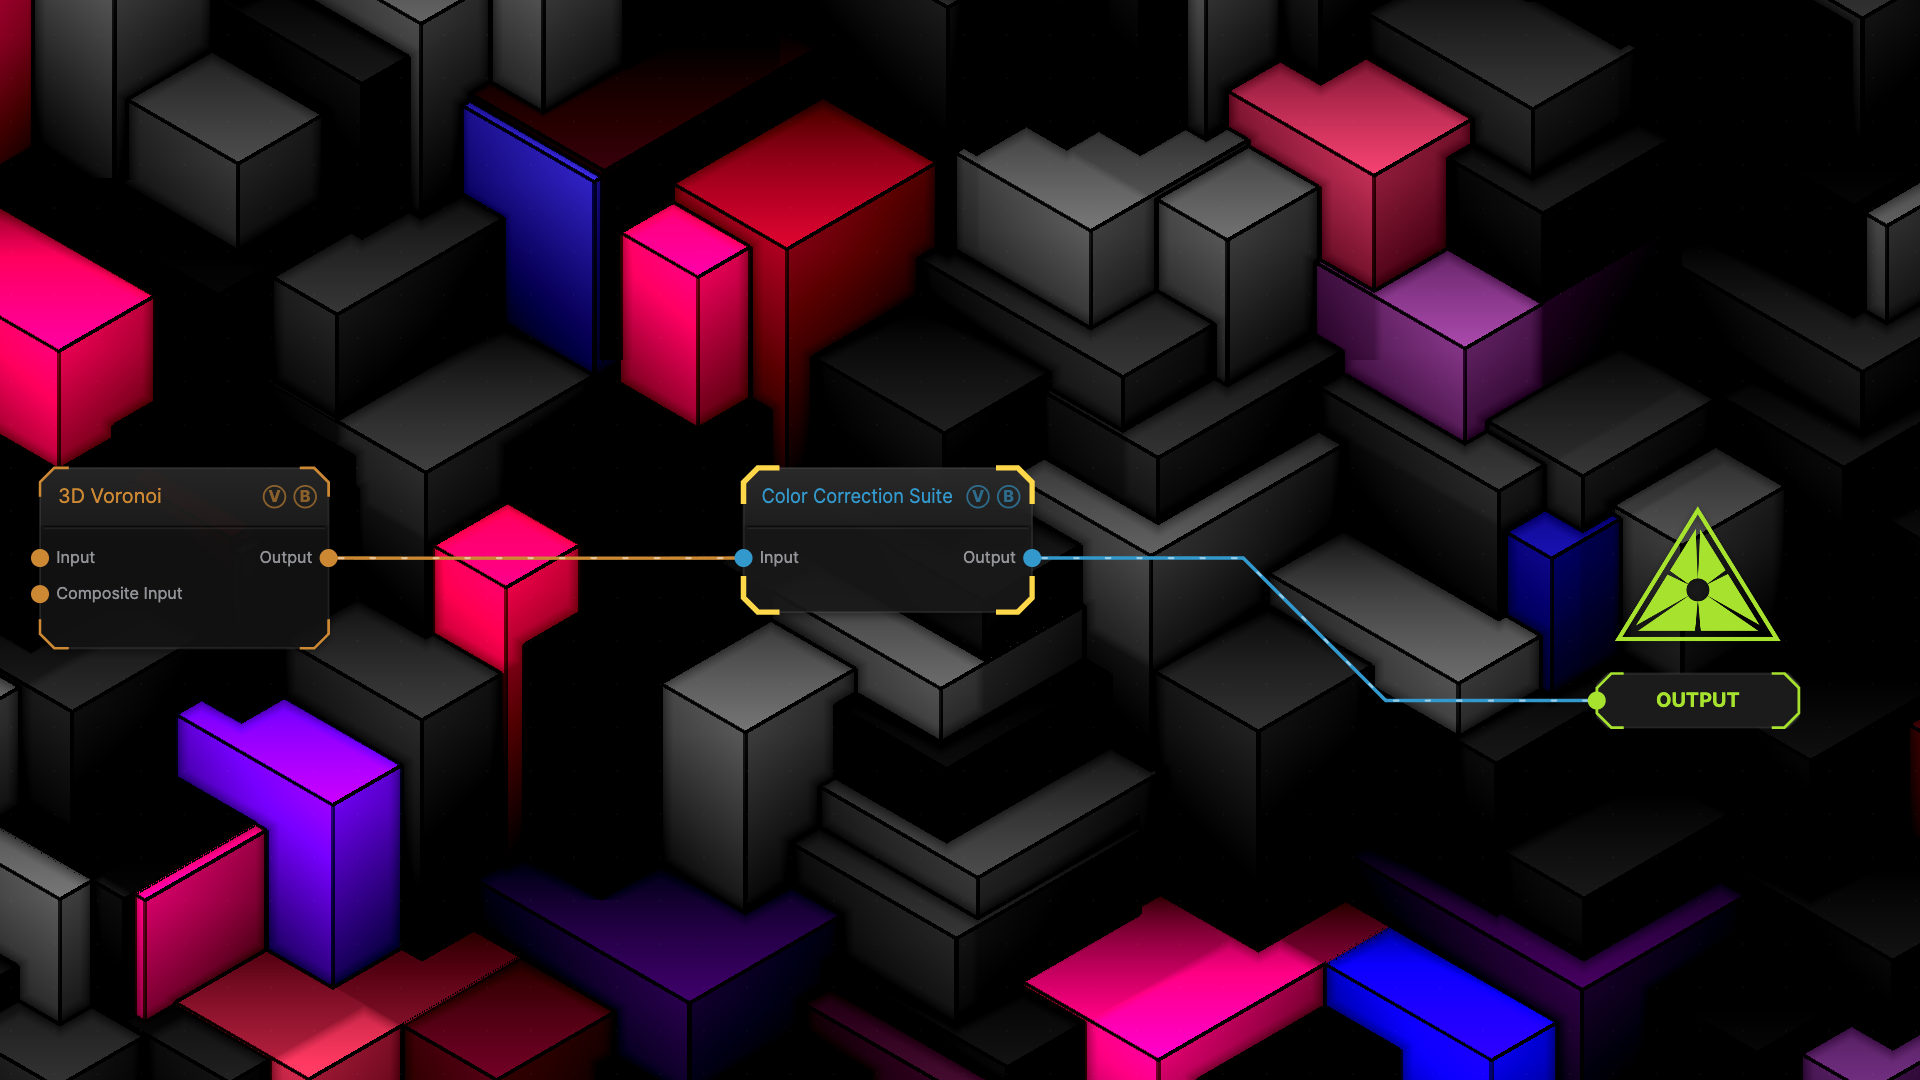
The image on the right is the example patch itself — drag and drop it onto the app (or load it with File → Load) to open the full graph.
Inputs and outputs
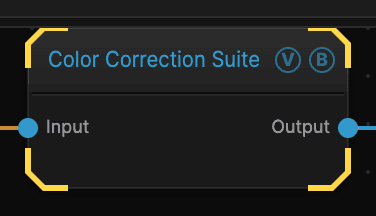
| Port | Type | Purpose |
|---|---|---|
| Input | Texture or 3D scene | A picture, or a 3D scene passing through |
| Output | Texture or 3D scene | The graded result |
Wire a picture in and it is graded straight away. Wire a 3D scene in and the grade is carried along and applied while the scene is still being lit, which handles bright highlights far better.
Parameters
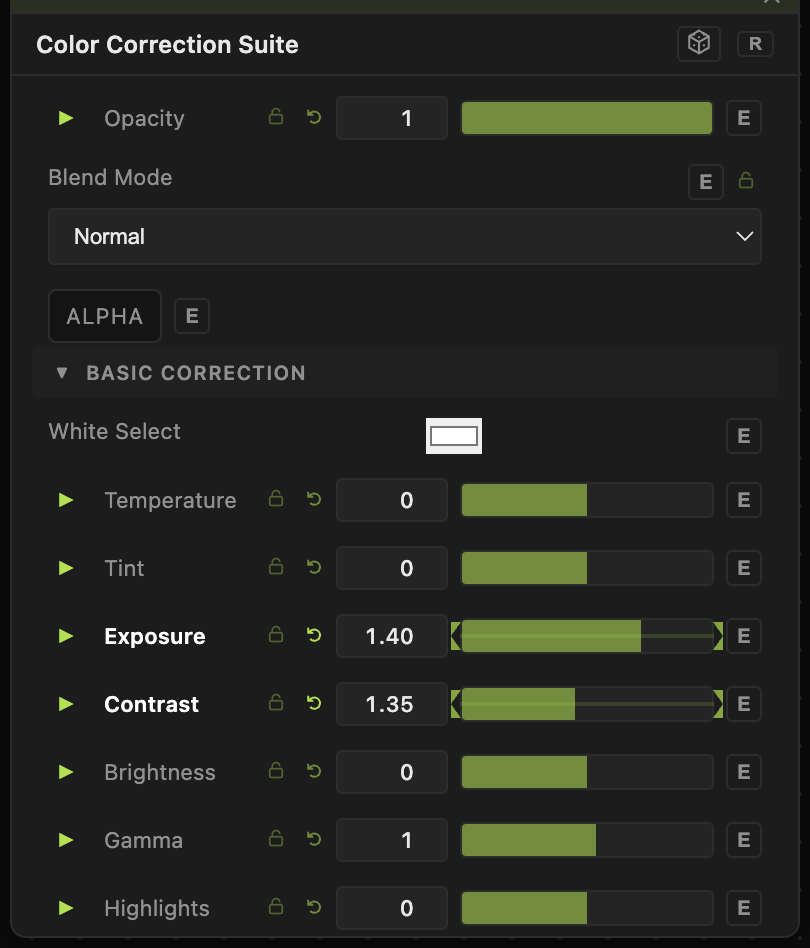
Opacity, Blend Mode, ALPHA — the standard operator header, on every operator. See Parameters and Controls.
- Basic Correction — White Select, Temperature, Tint, Exposure, Contrast, Brightness, Gamma, Highlights, and Shadows. Start here: set the exposure, then warm or cool it with Temperature.
- Creative — Sharpen, Vibrance, Saturation, and Hue. Vibrance lifts the muted colours and leaves the already-strong ones alone, which usually looks more natural than raising Saturation.
- Curves — a curve editor for shaping the response by hand.
- Channel Correction — Red Gain, Green Gain, and Blue Gain, for correcting a colour cast.
- Lookup — LUT Source, LUT File, LUT Image, Flip LUT Y, and LUT Strength, for applying a finished look on top of the correction.
Correct first, then apply a look. A look table applied to a badly exposed picture rarely rescues it.
Troubleshooting
Two grades are fighting — on a 3D scene only the last Color Correction Suite in the chain takes effect. An earlier one is replaced, not added to.
The look table is crushing the highlights — lower LUT Strength, or bring Exposure down before it.