Texture
Bump Map
Reads a picture as a height map and lights it, producing a carved, embossed surface.
The Bump Map node treats a picture as a landscape — light is high, dark is low — and shines a light across it. The result looks carved or stamped in relief.
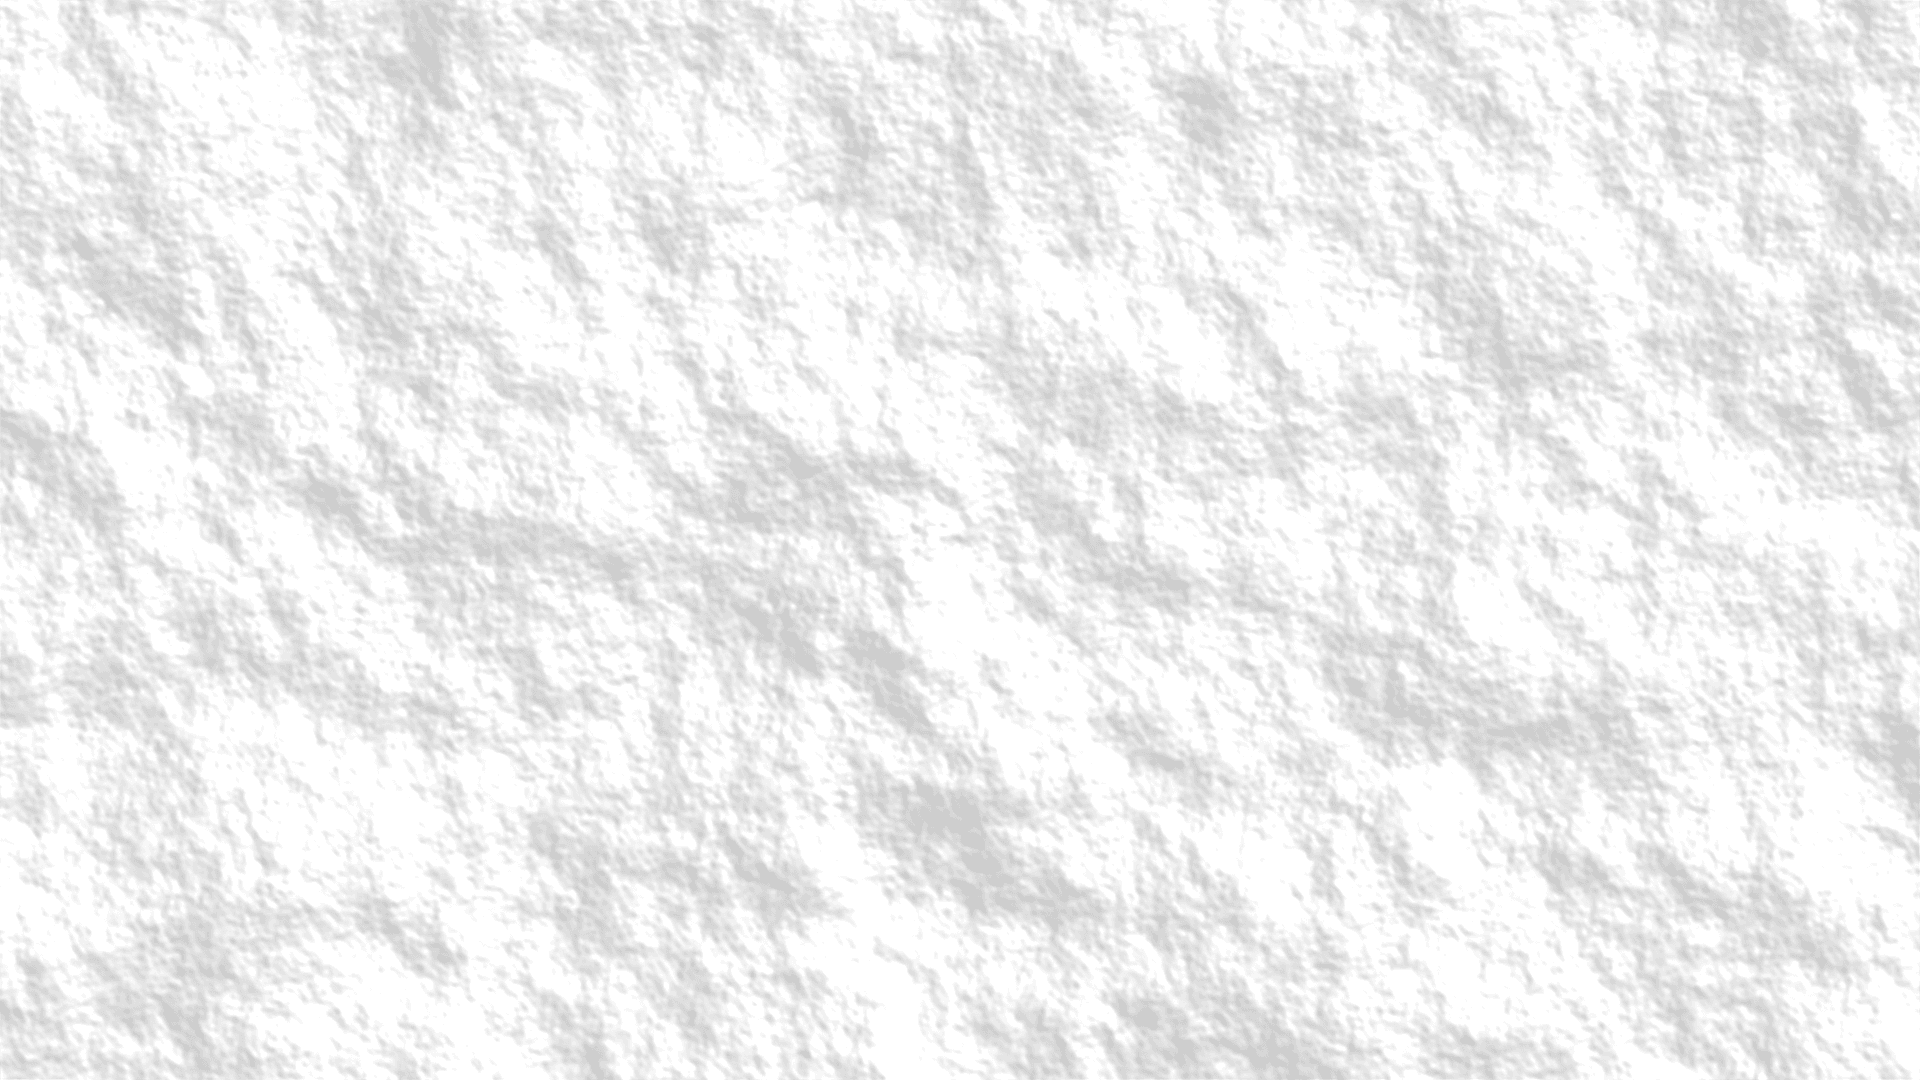
- One picture in, one out
- The result is a lit picture, ready to use as it is
- Move the light to change which edges catch the highlight
- Found under Texture in the add-operator list
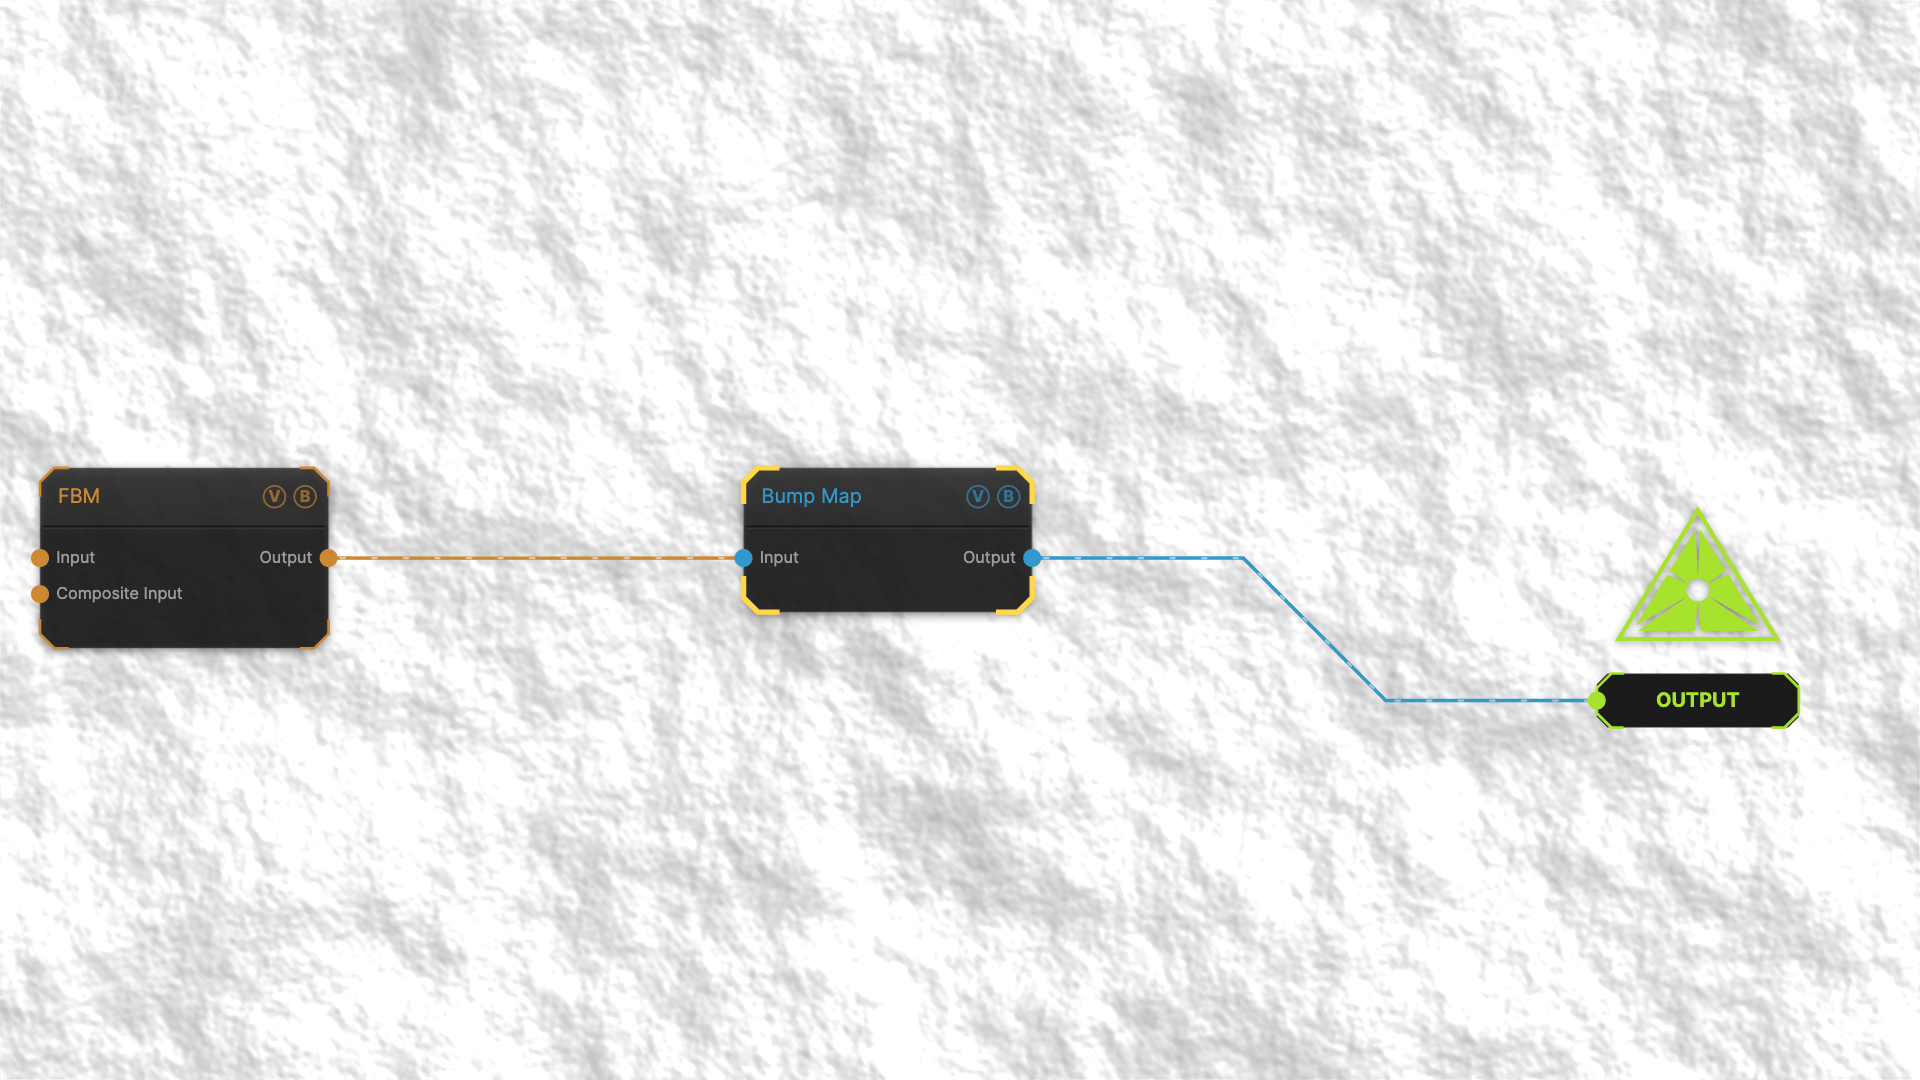
The image on the right is the example patch itself — drag and drop it onto the app (or load it with File → Load) to open the full graph.
Inputs and outputs
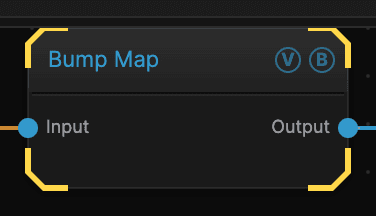
| Port | Type | Purpose |
|---|---|---|
| Input | Texture | The picture to work on |
| Output | Texture | The result |
Parameters
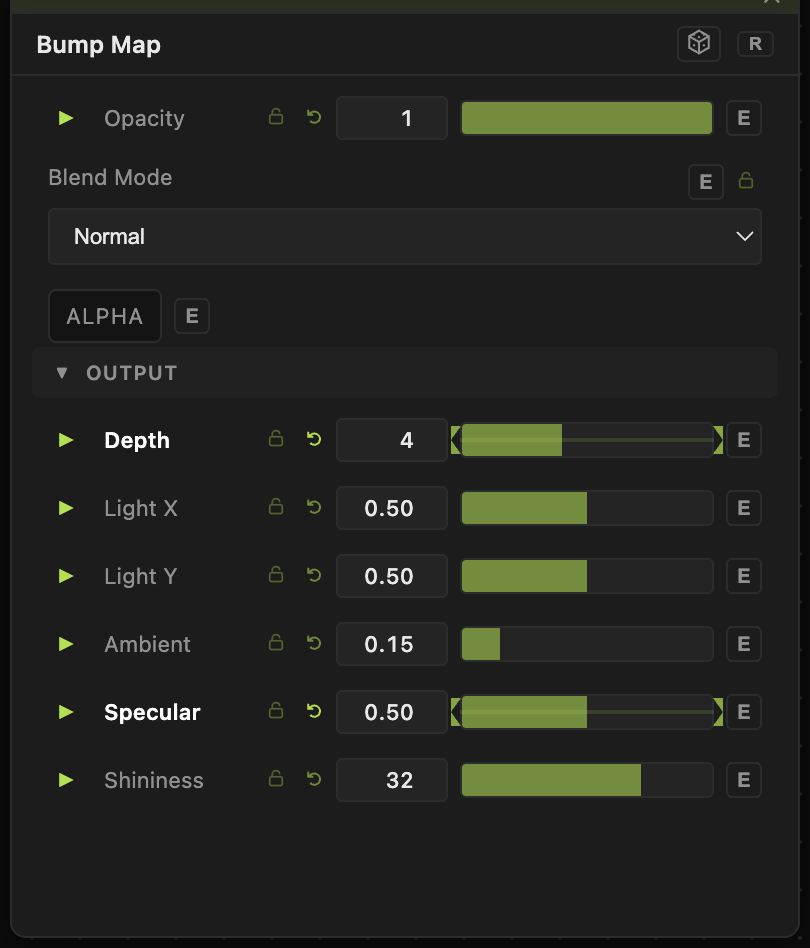
Opacity, Blend Mode, ALPHA — the standard operator header, on every operator. See Parameters and Controls.
- Depth (0–10, default 1) — how deep the carving looks.
- Light X and Light Y (−1 to 1, default 0.5) — where the light comes from. Moving it swings the highlights and shadows to the other side.
- Ambient (0–1, default 0.15) — the fill light, which keeps the shadow side from going pure black.
- Specular (0–1, default 0.3) — the strength of the shiny highlight.
- Shininess (1–128, default 32) — how tight that highlight is. Higher makes it smaller and sharper, which reads as a harder, more polished surface.
Troubleshooting
Despite the name, this does not produce a bump map for a 3D material. It produces a lit picture. For a material slot use Normal Map.
The relief looks inverted — flip the input with Invert, or move the light to the opposite side.