Feedback
Blends each frame with a transformed copy of the previous one, producing trails, echoes, and zoom tunnels.
The Feedback node keeps its own copy of the last frame it produced, transforms it, fades it, and blends it under the current input. Trails, echoes, and infinite zoom tunnels all come from the same operator.
- One texture in, one texture out — the loop is internal, so no wire runs backwards
- Transform the previous frame with Offset, Rotation, and Scale to steer the trail
- Seven ways to combine the previous frame with the current one
- Found in the node graph under Texture in the operators panel
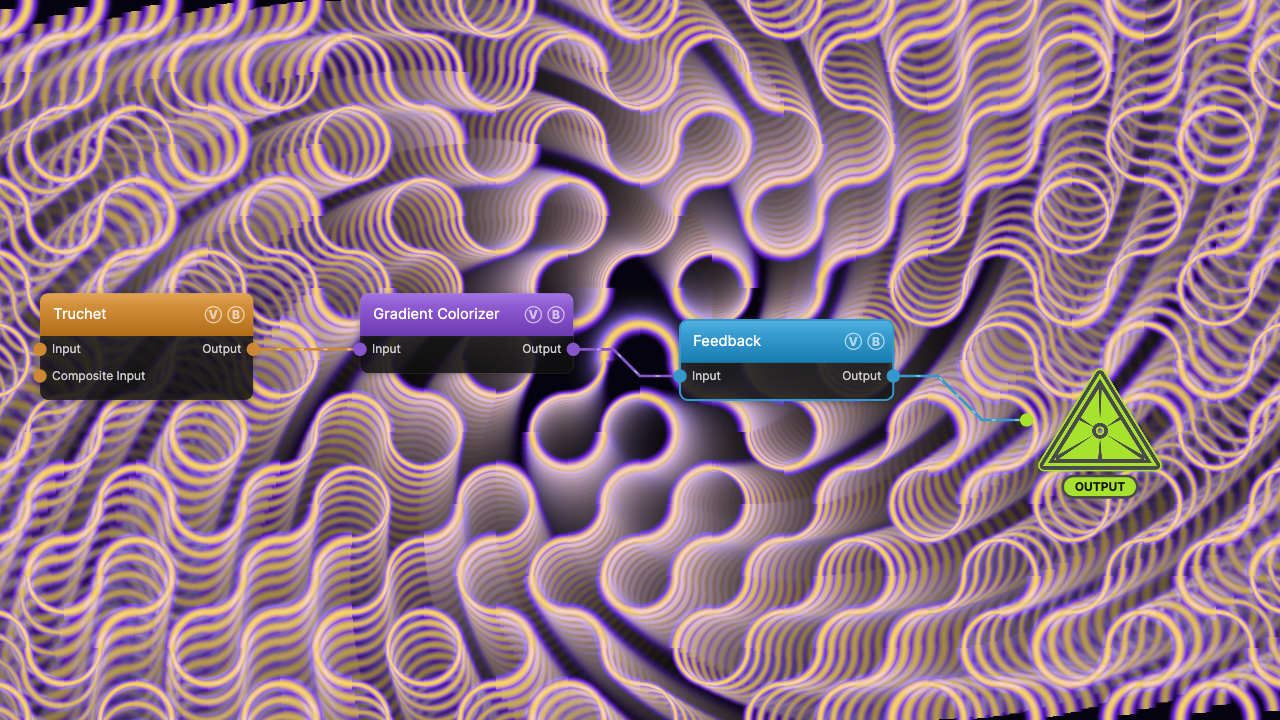
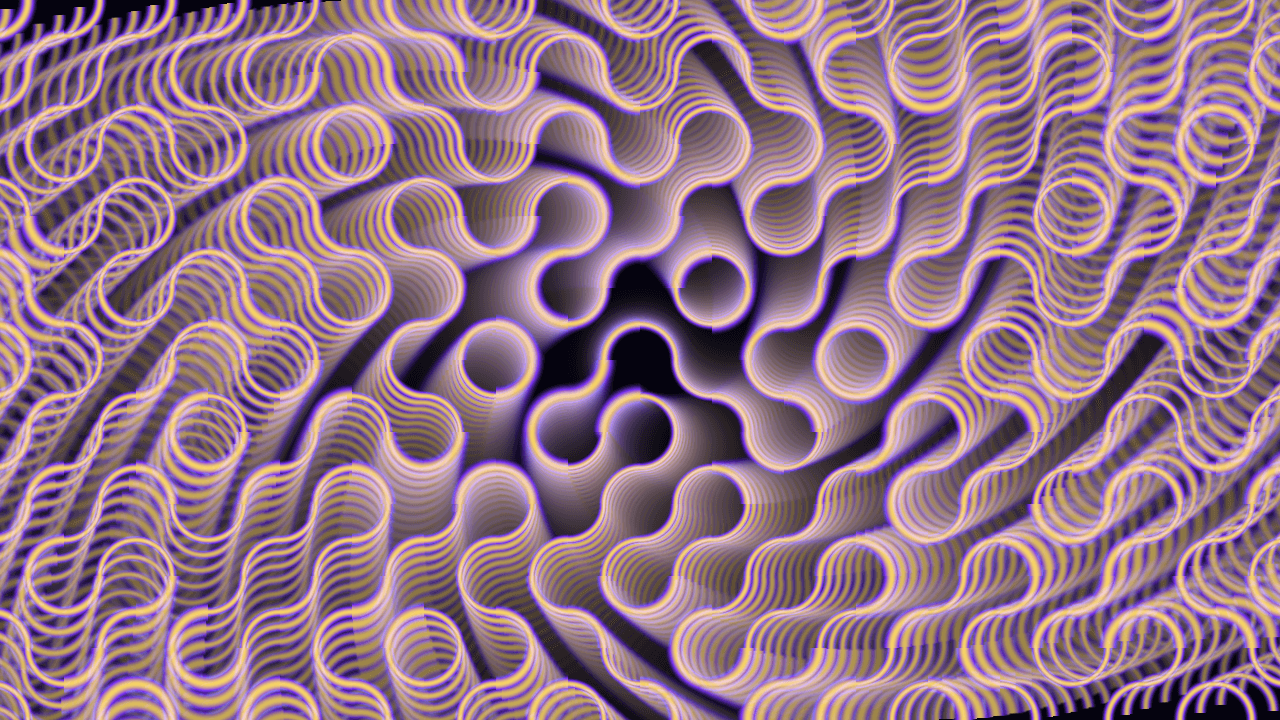
The image on the right is the example patch itself — drag and drop it onto the app (or load it with File → Load) to open the full graph. A colorized Truchet pattern feeds a Feedback node scaling 1.02 and rotating 1.5° per update.
Inputs and outputs
| Port | Type | Purpose |
|---|---|---|
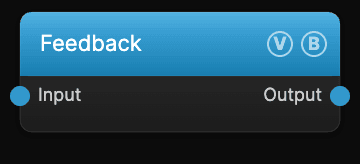
| Input | Texture | The current frame. With nothing connected the node outputs nothing. |
| Output | Texture | The blend of this frame with the accumulated history. |
Each Feedback node owns a pair of buffers at the project's output resolution. Changing the resolution rebuilds them, which clears the accumulated history.
How a frame is built
Every update the node does the same four things:
- Take the previous output and transform it — Scale, Rotation, then Offset, all around the centre of the frame.
- Multiply it by Previous Frame Feedback, so older content gets dimmer with each pass.
- Combine it with the current input using Previous Frame Blend Mode.
- Store the result as the new previous frame.
Anything the transform pushes outside the frame is treated as black, so trails fade off the edge instead of wrapping around.
Parameters
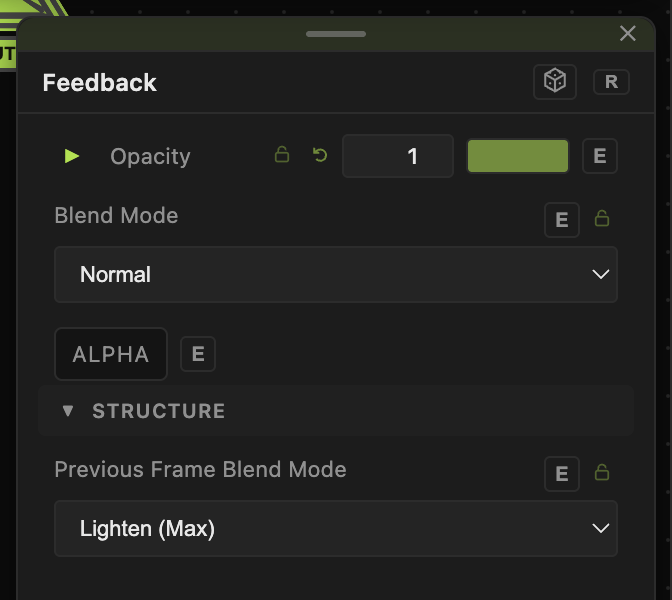
- Previous Frame Blend Mode — how the accumulated history combines with the current frame. Lighten (Max) (default) keeps whichever is brighter, the classic trail. Add builds up and can saturate. Screen is a softer additive that will not clip. Multiply darkens. Darken (Min) is the inverse of Lighten. Difference is glitchy and high-contrast. Mix cross-fades, using Previous Frame Feedback as the previous frame's weight.
- Offset X / Offset Y (−0.1 to 0.1, default 0) — shifts the previous frame before blending. Positive X pushes the trail right, positive Y pushes it up.
- Rotation (−10 to 10 degrees, default 0) — turns each successive copy, which spirals the trail rather than smearing it in a straight line.
- Scale (0.9 to 1.1, default 1) — above 1 each copy grows, so the trail expands outward; below 1 the copies shrink toward the centre. The useful range is tiny — 1.01 to 1.03 already reads as a strong tunnel.
- Previous Frame Feedback (0–1, default 0.95) — how much of the history survives each update. 0 removes the effect; values near 1 hold trails almost indefinitely.
- Max Frame Rate (0–120, default 60) — caps how often the feedback buffer updates. Lower values step the trail into discrete echoes instead of a smooth smear. 0 means unlimited.
Every slider has a per-parameter animation bar, so any of these can be animated, audio-driven, or MIDI-mapped — see Parameters and Controls.
Examples
Motion trails — Previous Frame Feedback 0.9, no transform, Lighten (Max). Moving content leaves a fading wake and static content is unchanged.
Zoom tunnel — Scale 1.02, Previous Frame Feedback 0.95, Lighten (Max). Add a degree or two of Rotation to spiral it.
Stepped echoes — Max Frame Rate 8, Offset X 0.03. The trail becomes a row of discrete copies rather than a smear.
Troubleshooting
The trail never clears — Previous Frame Feedback at or very near 1 keeps the history forever. Drop it to 0.9 or lower.
Old content is stuck on screen — the buffer only resets when the output resolution changes or the input is disconnected. Set Previous Frame Feedback to 0 for a moment to flush it.
The effect looks stuttery — that is Max Frame Rate doing its job. Raise it to 60, or 0 for unlimited.