Chromatic Aberration
Offsets the red, green, and blue samples by an amount that grows with distance from the centre, like a cheap lens.
The Chromatic Aberration node separates the colour channels. The offset grows toward the frame edge, so the centre stays clean and the corners fringe.
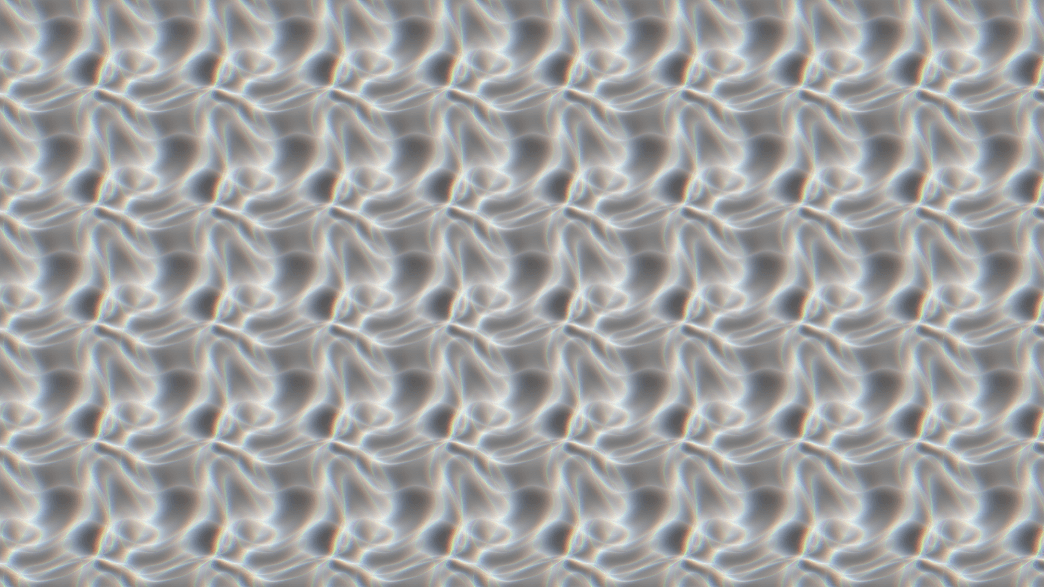
- Amount, Angle, and Falloff shape the fringe
- Samples trades smoothness for cost
- Found in the node graph under Post FX → Distortion
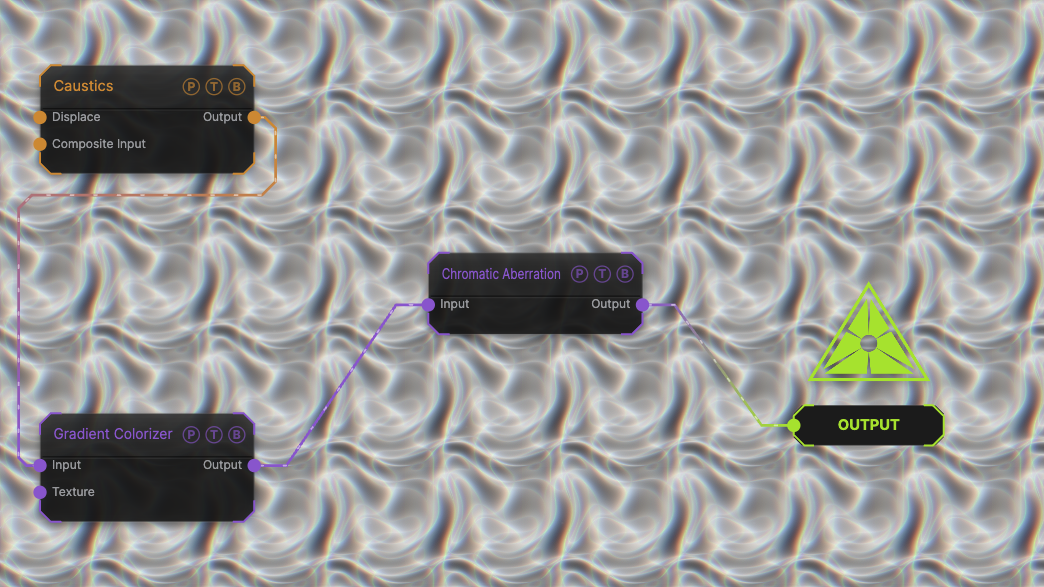
The image on the right is the example patch itself. Drag and drop it onto the app, or load it with File → Load, to open the full graph. A Caustics field, run through a Gradient Colorizer, with the default 5-pixel fringe.
Inputs and outputs
| Port | Type | Purpose |
|---|---|---|
| Input | Texture | The picture to process. |
| Output | Texture | The result. |
Parameters
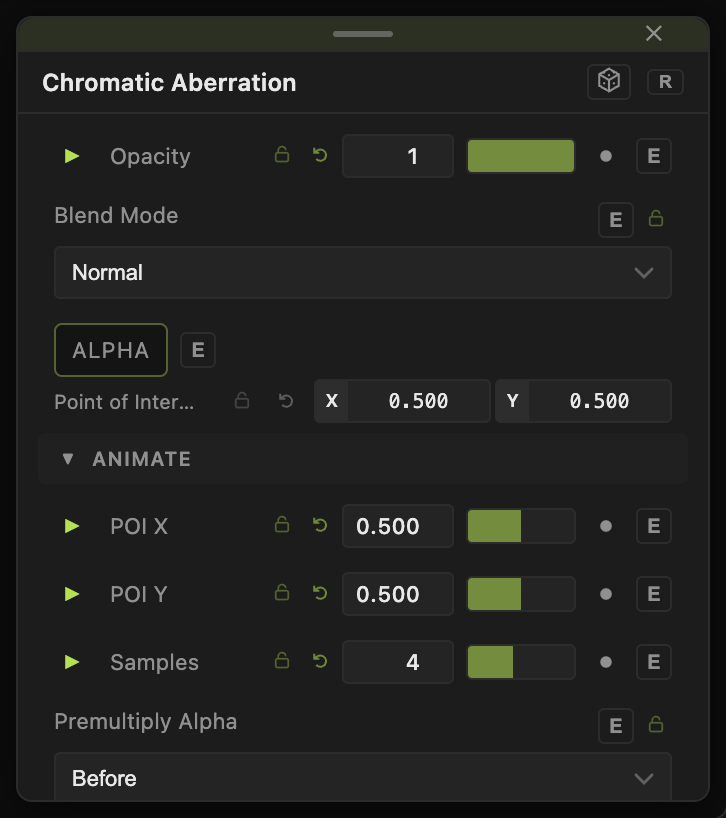
Opacity, Blend Mode, and Alpha are the standard operator header; see Parameters and Controls.
- Amount (0–100, default 5) — the maximum channel offset in pixels.
- Angle (0–360, default 0) — the direction of the offset.
- Falloff (0–1, default 0.5) — how much the effect concentrates at the edges. 0 fringes the whole frame evenly.
- Samples (1–8, default 4) — taps between the channel positions. More gives a smooth smear instead of three sharp copies.
- Premultiply Alpha — Before (default), After, or None: how alpha is handled around transparent edges.
Every slider has a per-parameter animation bar, so it can be animated, audio driven, or MIDI mapped.
Examples
Lens edge — the defaults with Falloff 0.8.
Glitch splash — Amount 40, Samples 1, Angle driven by a Random modifier.
Troubleshooting
The fringe shows dark halos on a cut-out — set Premultiply Alpha to Before.